Introduction:
In this blog we will learn how to use multiple attachment controls and how to manage attached files with multiple attachment controls in Power Apps custom list form.
Technical Approach:
We will store files of all attachment controls in collection and then we will store files available in collection in document library using Power Automate.
Pre-requisites:
- List should be ready for which you want to create Power Apps form.
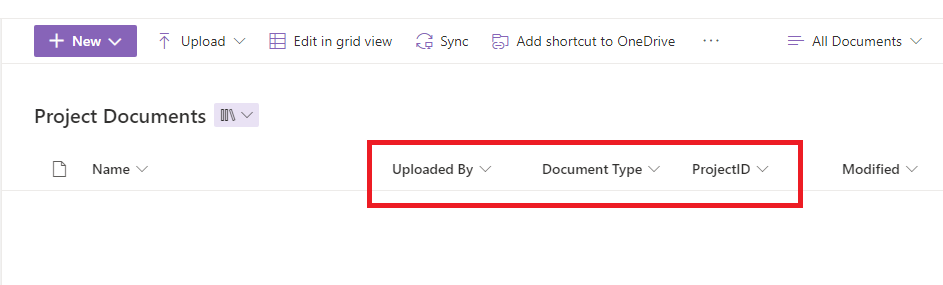
- Create Document Library with fields shown in below screenshot. Here in this example, Document Library name is Project Documents.
Create Power Automate
Step 1: Go to the https://make.powerautomate.com/ and select Instant cloud flow from Create menu of left navigation.

Step 2: Now, type the flow name and select the PowerApps (V2) trigger and click on Create button.

Step 3: Now, expand the Power Apps (V2) trigger and add below input fields:

In above inputs "ItemID", "UploadedByName" and "DocumentType" will be text type field and "File Content" will be file type field.
Step 4: Now, click on New step and new action for Create file in SharePoint as shown in below screenshot:

Step 5: Now, select the Site Address and your document library in Folder Path fields. In the File Name, copy-paste the below expression:
@{triggerBody()['file']['name']}
And, in File Content field, select File Content which we defined in Power App input as shown in below screenshot:

Step 6: Now, add new step for Update File Properties as shown in below screenshot:

Step 7: Now select the Site Address and Library Name. In Id field, select the ItemId from Create file action as shown in below screenshot:

Step 8: For the Document Type, Uploaded By and Project ID columns, select the Power App inputs as shown in below screenshot:


Step 10: Select the Site Address and List name and in Id fields, select the ItemId from Power App input.

Step 11: Now, add a new step for Apply to each.

Step 12: Now in Select an output from previous steps field select the body of Get Attachments action as shown in below screenshot:


Step 14: Now, in Delete Attachments action select the Site Address and List Name. In Id field, select the ItemId from Power App inputs and in File Identifier add the expression as shown in below screenshot:

Step 15: Now our flow is ready, so save the flow.
Use multiple attachment controls:
Follow below steps to use multiple attachment controls in Power App list form:
Step 1: Open your SharePoint list and select Customize form option from integrate menu.

Step 2: Once your Power App form open, one attachment field will already available. Now select attachment data card value and copy it.

Step 3: Now, paste it on the same data card, so Attachments data card will now show 2 file upload controls. You can add label above both of the file upload controls as shown below:

Step 4: Now we will need to add the document library in data source.

ClearCollect(SOWDocs,Self.Attachments);
Above code will add all current selected files in SOWDocs collection.

Step 6: Now, we will use the same code for second attachment control. But with different collection name.

Step 7: Now, in both attachment controls, write the same code for OnRemoveFile action. So when user add or remove any file in attachment controls, we will have all currently selected files in collection.


Step 8: Now, click on Power Automate from left menu and click on Add flow.

Step 9: Now search for your flow name and click on the flow to add in the Power Apps form.

Step 10: Now, go back to the tree view of form and click on sharepointform1. And in OnSuccess method replace the below code.
 ForAll(
   SOWDocs As Document,
   UploadProjectManagementDocuments.Run(
     SharePointForm1.LastSubmit.ID,
     User().FullName,
     "File to Upload",
     {
       file: {
         contentBytes: Document.Value,
         name: Document.Name
       }
     }
   )
 );
 ForAll(
   ProjectPlanDocs As Document,
   UploadProjectManagementDocuments.Run(
     SharePointForm1.LastSubmit.ID,
     User().FullName,
     "Additional Attachment",
     {
       file: {
         contentBytes: Document.Value,
         name: Document.Name
       }
     }
   )
 );
 ResetForm(Self); RequestHide();

Step 11: Now save and publish the power app form and selected document of both attachment controls will be stored in document library when we save the list item from Power App form.


Step 12: To show documents which are already uploaded in document library, you can use gallery control and show documents by filtering using Project ID and Document Type.
Conclusion:
This is how we can use multiple attachment controls in Power App list form. Hope this blog will be helpful for you!
If you have any questions you can reach out our SharePoint Consulting team here.


No comments:
Post a Comment